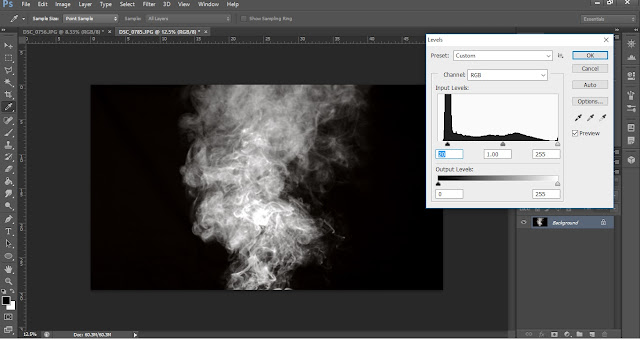
The following video above helped me to create a background for my poster using a photograph that I have taken of a floating smoke using self timer on my camera.
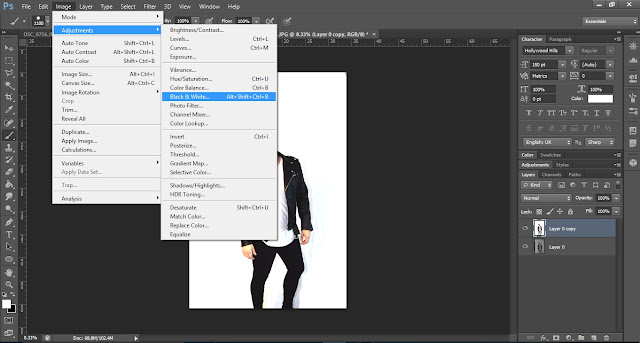
In able to create my poster I have had to edit the raw photograph that I have taken. I have done it by firstly increasing the exposure to create a totally white background. After that I have reflected the image because I wanted the character to face the other way. The next step was adding the smoke that I have managed to do due to the availability of the smoke as a photograph and the knowledge that I have received from the tutorial above.
Secondly I have done the writings, added the album cover, the record label logos, and at very last I have created a gold layer that I have applied in particular parts of the writings by keeping the ALT key down on my key board and clicking on the layer that I wanted the gold colour effect on.
Further more I have cut the character's head out in able to place it on front of the writings. I have done this by using a layer mask and brushing through with a black paint brush which allowed me to remove the parts from the writings that covered the characters face


